How to Try Vibe Typer Free: Download, Install, and First Dictation

You found Vibe Typer, you want to try it, and you're not handing over a credit card before you've typed a single word. You don't have to. The free tier is free, no card, and it gives you enough to know whether voice typing fits how you work.
This guide walks you through downloading the app, installing it on your platform, and completing your first dictation in under ten minutes.
What you get on the free tier
Worth knowing before you download anything.
The free tier includes 2,000 words transcribed per month, 20 AI operations per month, Magic Formatter with custom style instructions, and 99-language support with automatic detection. No credit card, no trial countdown. The 2,000 words are yours to use at whatever pace you want across the month.
Wispr Flow and Willow Voice give you more free words, 2,000 a week, but 2,000 a month is enough to judge an app that runs on Mac, Windows, Linux and iOS with the full feature set from day one. Once you upgrade, Pro is unlimited at $8 per month, less than the rest of the category charges.
When you're ready to go unlimited, Pro is $8 per month billed annually.
Step 1: Create your account
Go to vibetyper.com and click "Get Vibe Typer Free." You'll sign up with your email. No payment information required at this stage.
Your account is also what syncs your settings across devices later, so use an email you'll keep.
Step 2: Download the app for your platform
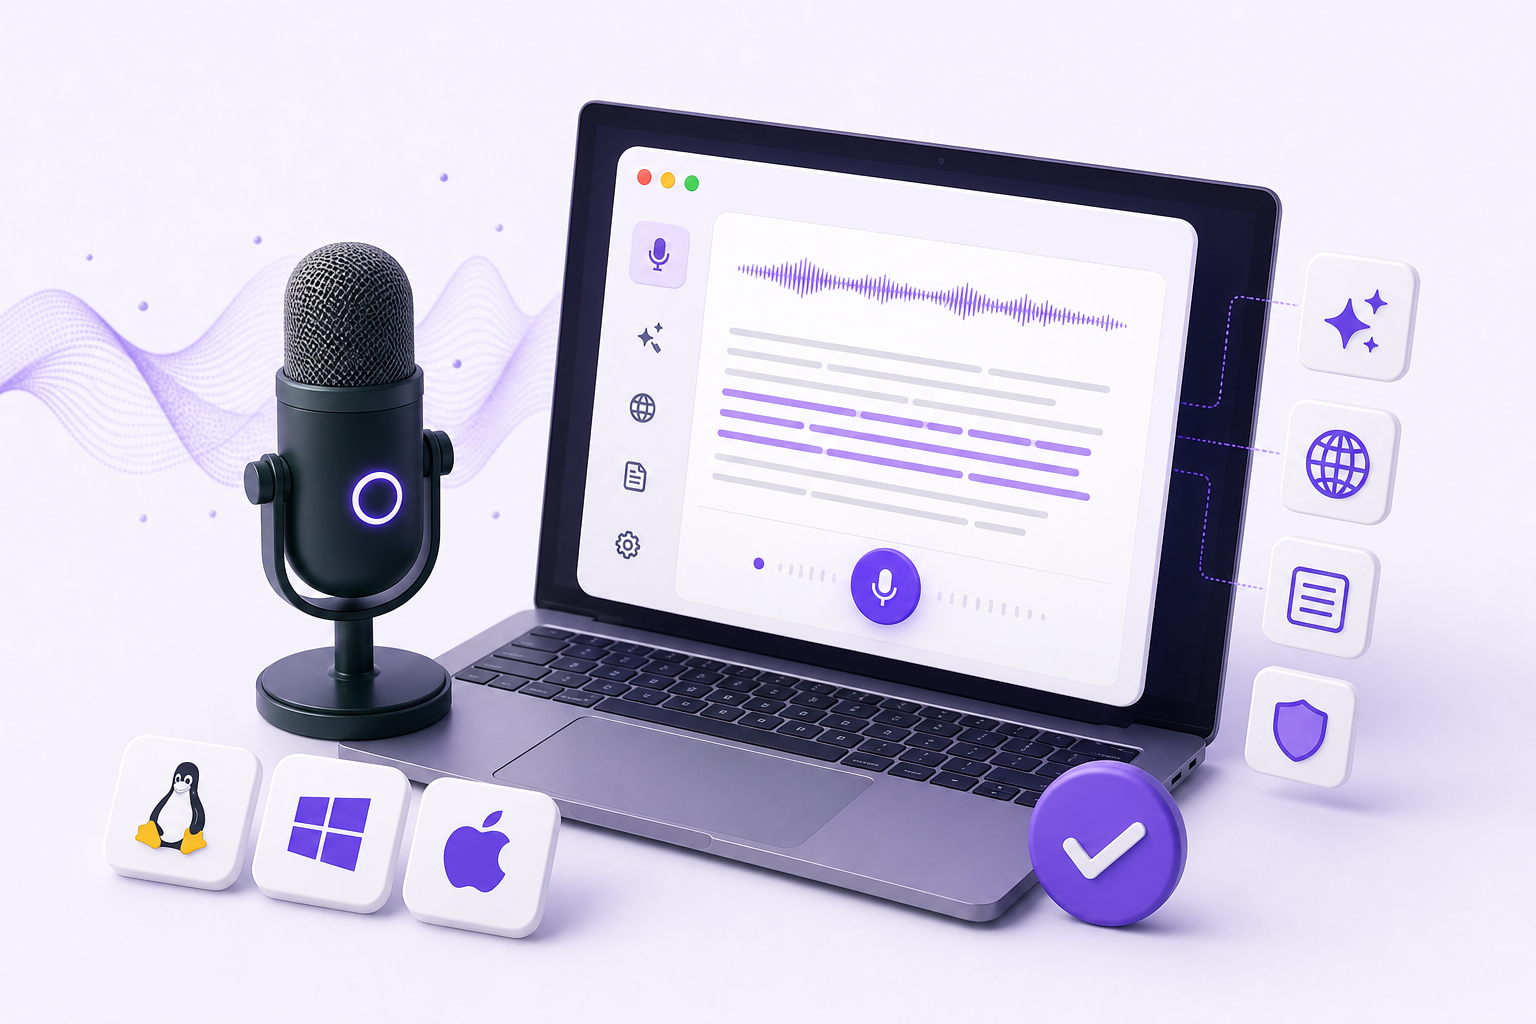
Vibe Typer is a native desktop app for Linux, Windows, and macOS. What you download depends on your OS.
Linux
On Linux, Vibe Typer ships as a portable AppImage. No package manager dependencies, no root installation, no conflicts with your existing setup. It supports both X11 and Wayland, which matters if you're on a modern distribution like Fedora, Ubuntu 24.04+, or anything running a Wayland compositor by default.
After downloading the AppImage, make it executable with chmod +x VibeTyper.AppImage, then run it with ./VibeTyper.AppImage. That's the full installation. No .deb, no .rpm, no AUR package. If you've hit walls with other voice tools on Wayland, this is where Vibe Typer is actually different.
Windows
Download the installer from your account dashboard after signing in. Run the .exe, follow the prompts, and launch from the Start menu or desktop shortcut.
macOS
Download the .dmg, open it, and drag Vibe Typer to your Applications folder. Launch from Applications or Spotlight.
Step 3: Set up your hotkey
The first thing to configure once the app is running is your activation hotkey, the shortcut that starts and stops dictation.
The default works for most setups, but you can change it in Settings to avoid conflicts with your existing shortcuts. If you're in a terminal or code editor most of the day, pick something you can hit without moving your hands far from the home row.
The hotkey is global. It works regardless of which application is in focus. Press it, speak, press it again, and the transcribed text appears at your cursor, wherever that cursor happens to be.
Step 4: Your first dictation
Open any application where you'd normally type. A text editor, a terminal, a code comment, a chat window. Whatever's in front of you.
Click to place your cursor where you want the text to land. Press your hotkey. Speak naturally. Press the hotkey again to stop.
The transcribed text appears directly at the cursor. No clipboard, no paste step, no window switching.
A few things worth knowing before your first session. Magic Formatter strips filler words without any configuration. Say "um, so, I want to, uh, write a function that..." and what appears is "I want to write a function that..." Language detection is automatic too, so you don't pick one before you start. Audio is processed in memory on Vibe Typer's own infrastructure and nothing is recorded server-side. Your dictation history lives on your device, with a diff view showing what you said next to what was output.
Step 5: Set a style instruction
This is what separates Vibe Typer from a basic transcription tool. Magic Formatter accepts plain-English style instructions that apply automatically to every dictation session going forward.
Open the Magic Formatter settings and write something like "Always use British spelling," "Write in short, direct sentences. No passive voice," or "Format code references in backticks."
You write the instruction once. Every subsequent dictation applies it without any further action from you. Full documentation is at vibetyper.com/docs.
Step 6: Check your activity dashboard
After a few sessions, open the activity dashboard. It shows words dictated, time saved, speaking pace, and a streak calendar.
Two reasons this is useful. It tells you how much of your free-tier allowance you've used, so 2,000 words does not arrive as a surprise, and it gives you real numbers on how much typing you are replacing. That makes the Pro decision much easier.
What happens when you hit the free tier limit
By 2,000 words, you'll have a clear read on whether voice typing is working for you. If it is, Pro at $8 per month (billed annually) removes the word cap entirely and adds unlimited AI operations, AI rewrite, tone styling, and voice commands.
Evaluating for a team? Business plans are seat-based with pricing available on request through the site.
Frequently asked questions
Does the free tier require a credit card? No. You sign up with your email and start using the free tier immediately. No payment information is collected until you choose to upgrade.
Does Vibe Typer work on Wayland? Yes. On Linux, Vibe Typer supports both Wayland and X11. It ships as a portable AppImage and has been tested across major distributions on both display servers.
Is audio stored anywhere? Audio is processed in memory on Vibe Typer's own backend infrastructure. No recordings are stored server-side. Dictation history, including the diff view of what you said versus what was output, is stored locally on your device.
Can I use Vibe Typer in a terminal or code editor? Yes. Vibe Typer injects text directly at the cursor position in any application, so it works in terminals, code editors, and anywhere else you can place a cursor, including tools like Cursor, Claude Code, and OpenCode.
What is Magic Formatter and do I need to configure it? Magic Formatter automatically strips filler words and self-corrections from your dictation. It also applies any plain-English style instructions you've written in the settings, and those instructions persist across every session without you doing anything else.
How many languages does Vibe Typer support? 99 languages, with automatic detection. No need to manually select a language before you start.
What's the difference between the free tier and Pro? The free tier includes 2,000 words per month, 20 AI operations per month, Magic Formatter with custom instructions, and 99-language support. Pro adds unlimited voice typing, unlimited AI operations, AI rewrite, tone styling, and voice commands, at $8 per month billed annually.
Start dictating
The free tier is a real product, not a stripped-down demo. You get Magic Formatter, 99-language support, and 2,000 words per month with no card required. Enough to know whether voice typing belongs in your day.
Go to vibetyper.com, create your account, and get your first dictation done today.
Try Vibe Typer free
Voice typing that works in every app on Linux, Windows, and macOS. Free to download: 2,000 words a month, no card.
Download free